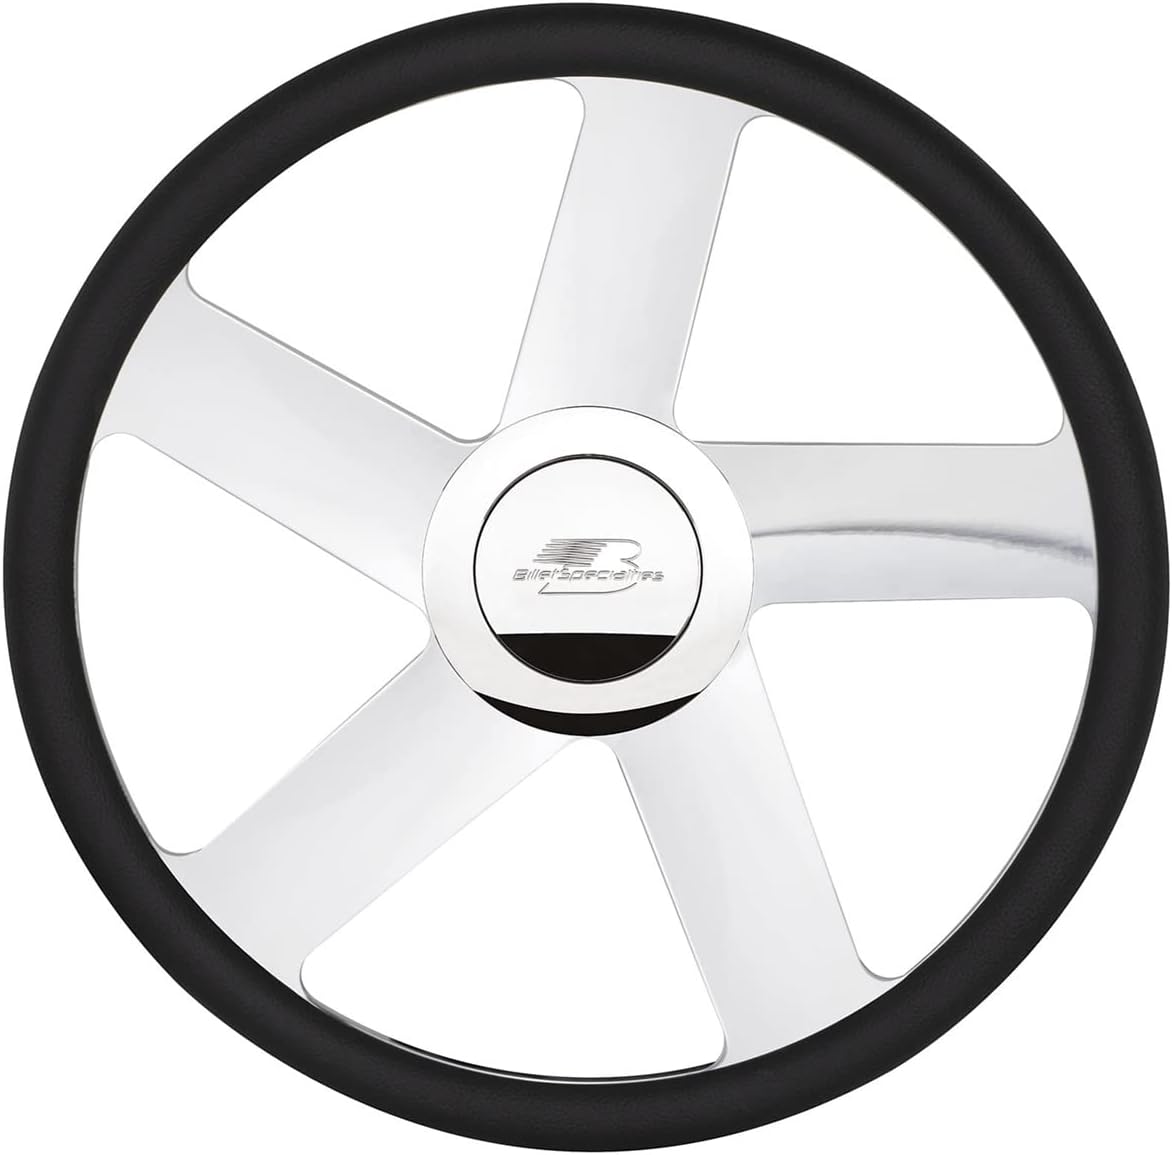
If you’ve ever slid into a classic car or show truck and immediately grabbed a thin, cracked, decades-old steering wheel, you already understand the appeal of a billet upgrade. Billet refers to aluminum (or occasionally steel) that’s been machined from a solid block rather than stamped or cast — the result is a denser, cleaner, more precisely shaped part. On a steering wheel, that means a rim and spokes that feel solid in your hands and look purposeful under show lighting. This guide is built for builders who already know what they want but need to nail the details: which style fits the build’s aesthetic, whether the hub adapter stacks up correctly, and where the hidden costs are hiding. If you’re earlier in the process and still asking “what even is a spinner rim,” the rest of RimSpinners has you covered — but for the steering wheel side of an interior build, this is where to start.
The three styles you’ll encounter most — half-wrap, banjo, and 9-bolt — look completely different and carry different installation implications. Getting the style wrong relative to your hub adapter and column depth is an expensive mistake. Here’s the full decision map.
| EDITOR'S PICK[Billet Specialties Steering Whe…](https://www.amazon.com/dp/B08ZCFST3M?tag=greenflower20-20) | Mid-tier14'' Billet Banjo Half Wrap 9 B… | Budget pick9 Bolt Disc Steering Wheel | |
|---|---|---|---|
| Diameter | 15.5" | 14" | 14" |
| Grip Type | Half Wrap | Half Wrap | Leather |
| Dish Depth | — | 2" | — |
| Horn Button Included | — | ✓ | — |
| Bolt Pattern | BLVD 42 | 9 Bolts | 9 Bolt Disc |
| Price | $356.26 | $115.60 | $83.59 |
| See on Amazon → | See on Amazon → | See on Amazon → |
Half-Wrap, Banjo, and 9-Bolt: What Each Style Actually Is
Half-wrap wheels have a continuous grip surface running approximately 180 degrees around the bottom arc of the wheel, with the upper portion left as bare spokes or open rim. The look is clean and modern-vintage — it reads as purposeful rather than overdone. You’ll see it most often on pro-touring muscle cars, restomod Camaros and Mustangs, and high-dollar pickup builds where the driver wants show aesthetics without full custom fabrication. Per the editorial archives at Hot Rod Magazine’s steering wheel swap coverage, half-wrap designs tend to pair well with tilt-column setups because the open upper section gives visual clearance to the gauge cluster.
Banjo wheels are the most historically specific style. The name comes from the instrument: two or more thin spokes connect the hub to the rim at the 9 and 3 o’clock positions, leaving large open areas that literally look like a banjo’s body. This was the dominant steering wheel design from roughly the 1930s through the late 1950s, and authenticity builders chasing pre-war, early post-war, or custom-rod looks almost always land here. Hemmings Motor News’s interior restoration features consistently flag the banjo as the correct period choice for builds targeting pre-1960 aesthetics — but also note that the open-spoke design means zero padding and zero airbag compatibility, which matters for street-driven vehicles in states with inspection requirements.
9-bolt wheels (sometimes called billet dish wheels or simply “billet flats” in the low-rider and custom-truck world) are defined by their mounting pattern: the wheel attaches to its hub adapter via nine evenly spaced bolts around a center hub. The look is deep-dish or flat-dish billet, with machined-face spokes radiating outward. Lowrider Magazine’s show-car feature coverage identifies the 9-bolt configuration as the dominant choice in competition low-rider interiors and show-truck builds, where the fully machined surface — often color-anodized or polished to a mirror finish — is the point. These are not subtle wheels. They are the interior centerpiece.
Fitment: The Hub Adapter Is the Whole Conversation
Every aftermarket steering wheel — regardless of style — attaches to the steering column through a hub adapter (also called a boss kit). The hub adapter is a vehicle-specific aluminum machined part that mates the column’s spline pattern to the wheel’s mounting face. Get this wrong and the wheel either won’t attach or, more dangerously, attaches loosely. There is no universal hub adapter.
The variables that determine your adapter:
-
Steering column spline count and diameter. Most domestic classics from the 1960s–70s run a 3/4-inch, 36-spline column. GM vehicles through much of this era share a common pattern, which is why the aftermarket is deep for them. Ford F-series trucks and Broncos from the same period run their own pattern. Always verify against a chassis-specific reference before ordering — the SEMA Accessory Category data for 2025 shows hub adapter mismatches as the leading cause of return/exchange on aftermarket wheel kits.
-
Tilt vs. non-tilt column. Tilt columns add 1/2 to 3/4 inch of additional depth relative to non-tilt setups. If your adapter stack doesn’t account for this, the wheel will sit either too close to the dash or too deep, affecting both ergonomics and turn-signal cancellation cam engagement.
-
9-bolt pattern vs. 6-bolt pattern. This is where builders get tripped up. The “9-bolt” in a 9-bolt steering wheel refers to the wheel’s own mounting face — it requires a hub adapter that presents a matching 9-bolt female pattern. Many quality hub kits from suppliers like ididit and Flaming River include interchangeable face plates that support both 6-bolt and 9-bolt configurations, but confirm before ordering.
By the numbers — typical hub adapter stack depth:
| Column Type | Typical Hub Adapter Depth | Notes |
|---|---|---|
| Non-tilt, 1960s–70s GM | 1.25–1.5 in. | Most common, widest adapter availability |
| Tilt, 1970s–80s GM/Chevy truck | 1.75–2.0 in. | Extended adapter or spacer often required |
| Ford Mustang (1965–73) | 1.0–1.25 in. | Ford-specific boss kit, don’t substitute GM |
| Custom column (ididit, Flaming River) | Varies — confirm with column manufacturer | Usually sold with matching adapter |
Hidden Costs and Build-Time Gotchas
Any experienced builder who’s quoted a customer on a billet wheel swap has run into at least one of these. Flag them early.
Quick-release hubs. Many show-car and low-rider builds add a quick-release mechanism between the hub adapter and the wheel — a spring-loaded collar that lets the driver remove the wheel in seconds for security or to exit a tight cockpit. Per Lowrider Magazine’s interior build coverage, quick-release fitment is considered standard in competition builds. They run $60–$200 depending on quality tier and add roughly 1–1.5 inches of additional column depth to manage.
Turn-signal cancellation cams. Stock steering columns use a plastic cam at the hub that rotates with the wheel to cancel turn signals after a turn. Most aftermarket billet wheels eliminate or cover this cam. On a show car that never sees the road, irrelevant. On a street-driven build, you’ll either need a column-specific cam relocation kit or accept manually canceling your signals — which also has legal implications that Car and Driver’s aftermarket wheel tech explainer calls out explicitly for street registration purposes.
Wheel diameter and ergonomics. Billet wheels typically run 13 to 15 inches in diameter, versus the 15–16 inch stock wheels of most classic trucks and muscle cars. A smaller wheel sharpens steering feel in a modified suspension setup but feels nervous and heavy in an unmodified power-steering or manual-steering vehicle. If the chassis hasn’t been sorted for the wheel, sort the chassis first.
Polish and anodize maintenance. Mirror-polished billet looks extraordinary under show lighting and requires real maintenance to stay that way. Owners across show forums consistently report that fingerprint management between show sessions is a part of the routine — not a deal-breaker, but budget for a quality metal polish and microfiber protocol if you’re sourcing for a client build with a show schedule.
Decision Frame: Which Style for Which Build?
If you’re at the point where the hub adapter is confirmed and the column is sorted, the style decision comes down to era, aesthetic, and use case. Here’s the explicit “if X, then Y” map:
If the build is pre-1960 or period-correct custom rod: Banjo wheel, full stop. The historical accuracy argument is strong, Hemmings’s restoration editorial consistently confirms the period appropriateness, and the open-spoke drama photographs well in any show class that judges interior authenticity. Accept that padding and airbag compatibility are off the table.
If the build is a restomod muscle car (1964–1973 era) or pro-touring truck: Half-wrap billet in a 13–14 inch diameter. The partial grip gives a modern ergonomic feel without the full custom-billet visual aggression, it pairs cleanly with billet pedals and a billet shifter knob, and it photographs well without dominating the interior story.
If the build is a competition low-rider or show truck where the interior IS the story: 9-bolt billet dish, polished or color-anodized to match the wheel and interior color scheme. Budget for the quick-release, confirm the hub pattern before ordering, and plan the column depth with the quick-release thickness included.
If the vehicle is street-driven daily or occasionally: Half-wrap is the practical middle ground. It looks intentional without requiring the turn-signal workaround conversation every time, and the partial grip is easier to live with in traffic than a banjo’s full-open rim.
Budget benchmarks as of mid-2026: Entry-level billet half-wraps from domestic suppliers (Grant, Momo’s billet line) run $150–$350 before the hub adapter. Mid-tier machined 9-bolt dishes from show-focused brands run $400–$800. Full custom billet work from specialty fabricators — matching finish to a specific wheel set, custom spoke design, client color anodize — runs $1,200–$3,000 per wheel before the adapter and quick-release stack. SEMA’s 2025 accessory market data pegs interior billet accessories as a category growing faster than exterior trim in the custom and show segments, which tracks with the build complexity we’re seeing in the show-truck circuit.
Sourcing and Final Verification Steps
Before any wheel ships to a client or lands in your build bay, run through this checklist:
- Confirm column spline count against a make/model-specific reference — not against memory.
- Measure column depth to the dash with the seat in the driver’s position.
- Add quick-release depth if applicable and confirm the total stack still clears the dash and allows full lock-to-lock without knuckle contact.
- Verify the wheel’s bolt pattern (6-bolt vs. 9-bolt mounting face) matches the hub adapter’s presented face.
- Document turn-signal cam status for the client or for build notes if street registration is involved.
The billet steering wheel is often the last interior decision and the first thing every judge and every show visitor touches. It’s worth the extra day of fitment research. Get the hub adapter right, get the column depth measured, pick the style that’s honest to the build’s era and intent — and then enjoy the part that actually makes a difference every time the driver sits down.